2023-08-15 Deploy service - Graph Handler
Revision as of 15:16, 18 August 2021 by Sven the Barbarian (talk | contribs) (Created page with "= Deploy instructions = # Clone project # cd \rbac\resource >> npm install # cd \rbac\app >> npm install # modify config/serverless.config.yml #* iz_serviceName(optional) #*...")
Deploy instructions
- Clone project
- cd \rbac\resource >> npm install
- cd \rbac\app >> npm install
- modify config/serverless.config.yml
- iz_serviceName(optional)
- iz_stage (optional)
- iz_region (optional)
- iz_accountId (optional)
- iz_logLevel (optional)
- modify config/serverless.config.yml : For resources
- iz_DefaultKeyPairName: neo4jSharedKeyName
- require existing key pair and make sure have private key pair installed on local computer
- #Create key pair
- iz_ImageId: ami-12xxxx33xxxxxx
- get from EC2 image
- #Find EC2 image ami
- iz_VPCCidrBlock: 172.16.0.0/16
- private IP range for VPC
- iz_Subnet1CidrBlock:172.16.10.0/24
- private IP range for subnet
- iz_Subnet1Public: true
- custom value, eg: true/false
- iz_DefaultKeyPairName: neo4jSharedKeyName
- cd \permission-handler\resource
- serverless deploy
- After deploy resource, need to connect with neo4j instance for setup user and password
- https://Public IPv4 address: 74763, e.g.https://54.157.175.244:7473
- Default user/password neo4j instance is neo4j, require to create new password
- modify config/serverless.config.yml: For app
- iz_neo4jPort: bolt://172.16.10.249:7687
- https://privateIPv4 address:7473
- iz_neo4jUser: neo4j
- username will set when first time connect with instance
- iz_neo4jPassword:neo4j2
- password will set when first time connect with instance
- iz_securityGroupIds: sg-xxxxxxxxxxx
- get from Instance page : EC2> Instances > I-xxx > tab: Security > Security groups > copy sg-xxxx
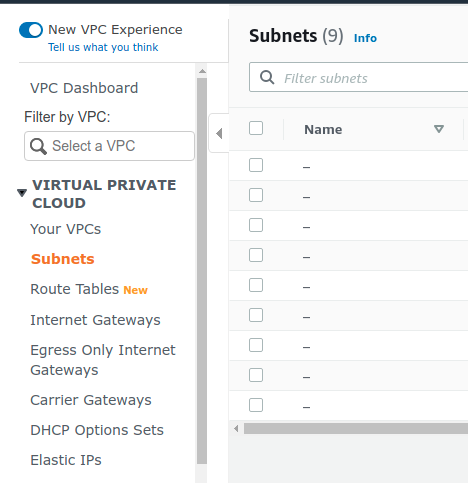
- iz_subnetIds1a: subnet-xxxxxxxxxxxxxxx
- get from Service VPC > Subnets
- and get Subnet ID in VPC that instance exist
- iz_neo4jPort: bolt://172.16.10.249:7687
- cd \permission-handler\app
- serverless deploy

Create key pair
- in terminal
- export KEY_NAME="Neo4j-AWSMarketplace-Key”
- aws ec2 create-key-pair --key-name $KEY_NAME --query 'KeyMaterial'--output text > $KEY_NAME.pem

Find EC2 image ami
- in AWS console
- EC2 -> Images -> AMIs
- click Change Owned by me to Public images Search "neo4j-community"
- Select one with "Owner" field showing this number: 385155106615, copy AMI ID
- Note: should select a different image-id ami from existing instance to avoid crash